Domain RegistrationFind the perfect domain for your business or personal site with ease.
 Web HostingAffordable Canadian web hosting, user-friendly and reliable.
 WordPress HostingFast, reliable WordPress hosting in Canada. Perfect for blogs and businesses.
 Email HostingCreate branded email accounts with simple, affordable email hosting.
 Reseller HostingStart your own hosting business with flexible reseller hosting plans.
 Affiliate ProgramJoin our affiliate program and earn commissions by referring customers.
 Windows HostingFast, reliable hosting for your Windows-based sites and applications.
 Cpanel HostingHosting made simple with the user-friendly cPanel dashboard
 WHOIS LookupQuickly find who owns a domain with our easy WHOIS search tool.
 All TLDsSecure the domain you want. Explore Canadian and global extension options.
 .com DomainSecure a globally trusted domain and start building credibility from the very first day.
 VPS HostingReliable VPS hosting crafted for performance and peace of mind.
 Managed VPSNo technical skills? Let us manage your VPS for you.
 Dedicated ServersTake full ownership and control of your private dedicated server.
Having a professional email address for your website or business is important for communicating with customers and promoting your brand.
Rather than relying on a generic free email, using a custom email address via your Canadian web hosting provider allows you to have addresses like [email protected].
Setting up email for your domain can seem complex, but most Canadian web hosts make the process fairly simple and straightforward.
In this guide, we’ll explore the key steps for getting your email up and running:
- Getting your own domain name
- Selecting a quality Canadian web hosting provider
- Configuring your email accounts and settings
- Setting up email forwarding to your existing inbox
- Accessing email via webmail when needed
With a few simple steps, you can quickly get professional customized email flowing for your website domain. Let’s look at how to get set up with email when using Canadian website hosting.
Getting a Domain Name
The first step in setting up email for your website in Canada is purchasing your own domain name, like yourcompany.ca.
Here are some tips for choosing and configuring a domain:
Check Availability
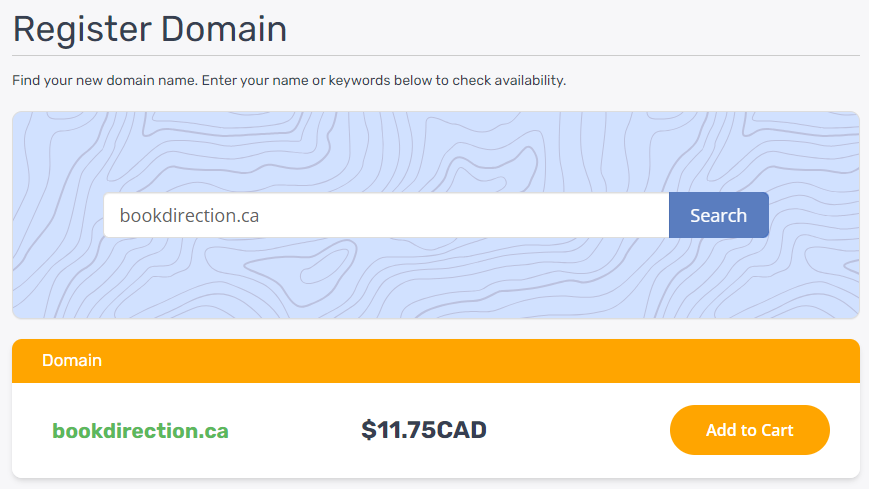
Think of a few domain name ideas for your site or business.
Use our domain registrar’s search tool to check if your desired .ca domains are available.
Pick Memorable Keywords
Choose keywords or phrases that relate to your brand and are easy to remember. Shorter domains like yourbusiness.ca are best.
Register for 1-5 Years
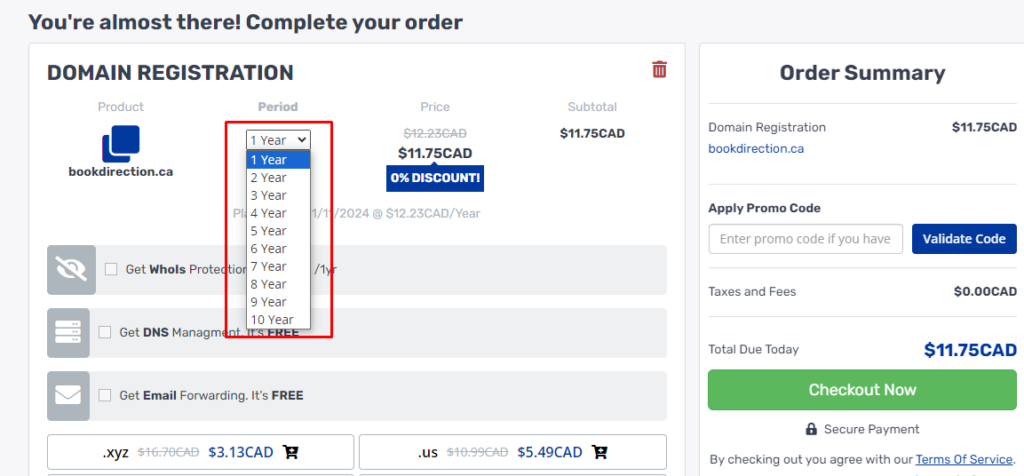
Register your domain for a minimum of 1 year, though 2-5 years is recommended for long term use.
Multi-year registrations often provide discounts.
Enable Privacy Protection
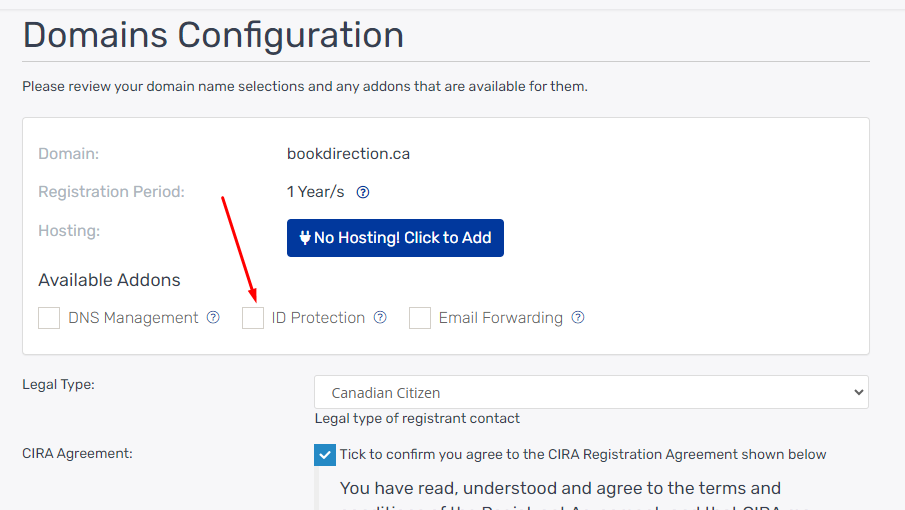
Optional domain privacy helps protect your personal contact details from public WHOIS lookups for a small fee.
Point to Web Host
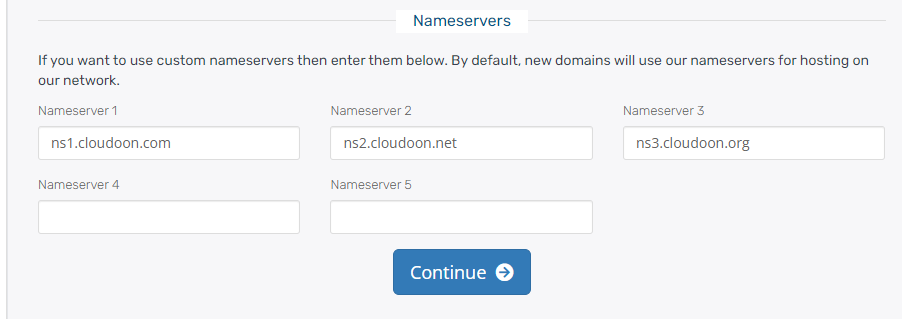
Once registered, you need to point your domain to your web hosting provider by updating the nameserver (NS) records to use their servers.
Our NS are as follows:
- ns1.cloudoon.com
- ns2.cloudoon.net
- ns3.cloudoon.org
By purchasing and properly configuring your own .ca domain name, you can then use it for setting up professional email addresses through your web host.
Selecting a Web Hosting Provider
The next step is choosing a Canadian web hosting provider that offers robust tools for setting up and managing email for your domain.
Here are some key features to look for:
Email Accounts Included
The web host plan should include multiple email accounts – often 5, 10, 25+ accounts depending on the plan.
Webmail Access
They should provide webmail access to email via an online interface in addition to standard email apps.
Email Forwarders
The ability to create email forwarders is useful, so you can forward email from your new accounts to an existing inbox.
Auto-responders
Auto-responder tools that automatically send out-of-office replies are very handy for managing email.
Email Aliases
Email aliases let you create more addresses that point to the same inbox to establish consistency.
Mail Server Info
They should provide all required SMTP, POP3, IMAP info to connect your email client apps.
Some top Canadian web hosting providers to consider for email include Truehost.ca, WPengine, SiteGround, Bluehost, HostPapa and iPage.
When evaluating hosts, look for generous email featuresets to support your domain email needs.
Setting up Email Accounts on Your Hosting in Canada
Once you have a domain and web host selected, it’s time to set up your actual email accounts.
Here is an overview of the process:
Log in to Control Panel
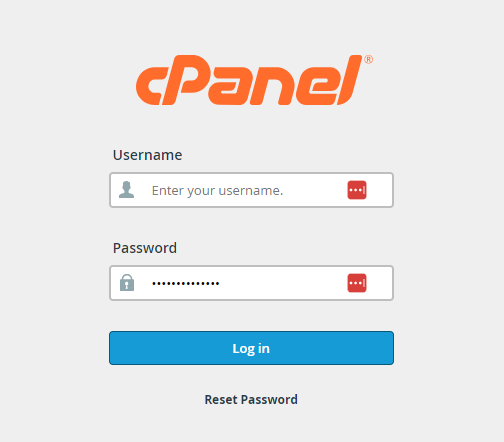
Your web host will have a control panel (cPanel, Plesk, etc) where you manage settings.
Log in to access email tools.
Here at Truehost.ca, we use cPanel!
Create Accounts
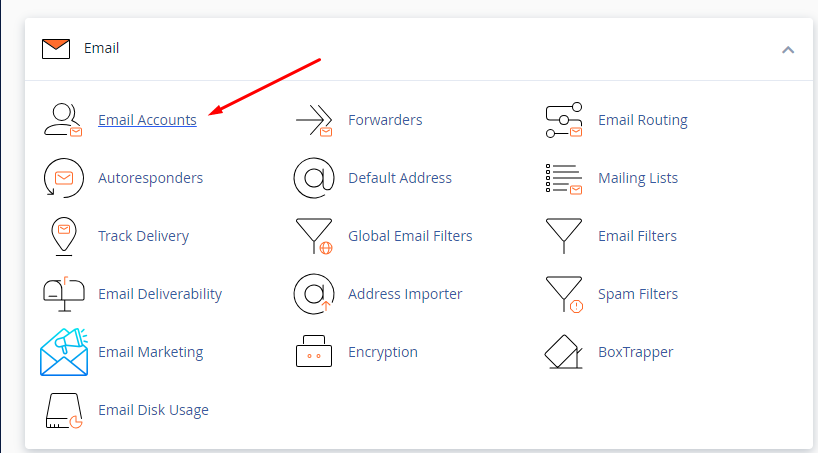
Use the email or account creation tools to add email accounts.
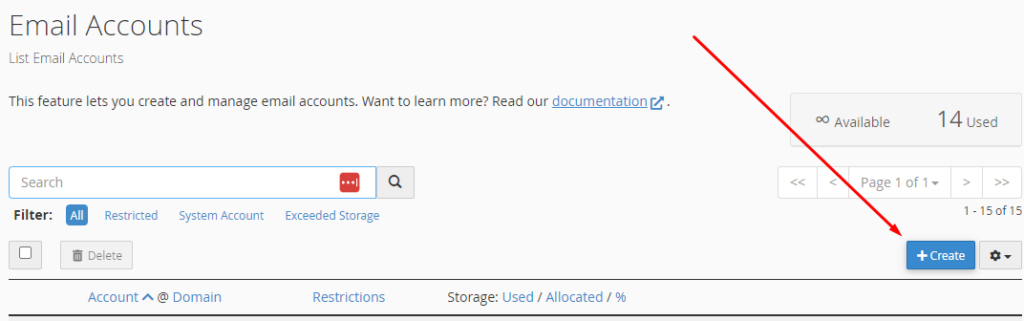
Simply enter names like [email protected].
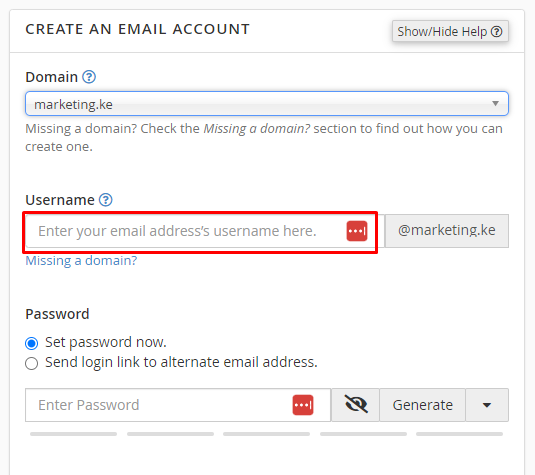
Set Passwords
You’ll set a password for each email account. Make sure to use unique, complex passwords for security.
Check Disk Space
Pay attention to any disk space limitations for mailboxes, and the tools to manage space usage.
Add Users
If needed, you can add additional users and assign email accounts to specific staff or team members.
Verify Connectivity
Try sending and receiving test emails to confirm everything is working properly internally and externally.
The control panel tools make it pretty straightforward to create professional custom email accounts matched to your domain name.
Configuring Email Forwarding
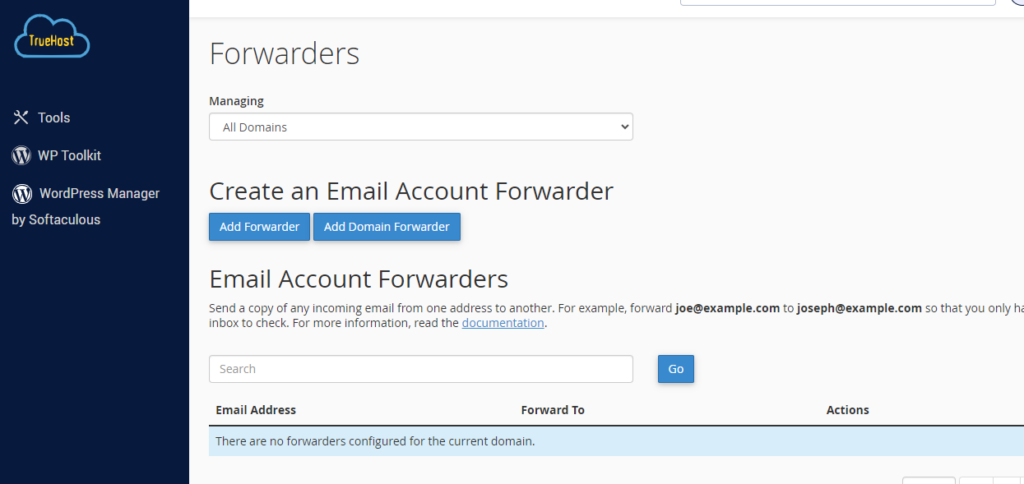
One very handy email feature that most Canadian web hosting plans include is email forwarding to automatically send your new emails to an existing inbox.
Here are some tips for setting it up:
Enable Forwarders
In your control panel, find the tools to create email forwarders and set up forwarding rules.
Pick Inbox Target
Decide what existing email inbox you want messages forwarded to from your new accounts.
Create Forwarders
For each new email account, create a forwarder rule to send its emails to your target address.
Forward All or Filter
You can typically forward all email or set filters, like only forward certain senders.
Forward with Envelope
Enable envelope forwarding to forward messages with full headers intact to avoid issues.
Copy Not Just Forward
Set your forwarders to copy or redirect messages rather than simply forwarding to avoid any disruptions.
Disable When Done
Once you are fully using your new email long term, you can disable the forwarding rules.
Intelligent use of email forwarding and filtering allows you to phase in your new domain email gradually if desired.
Accessing Email via Webmail in Canada
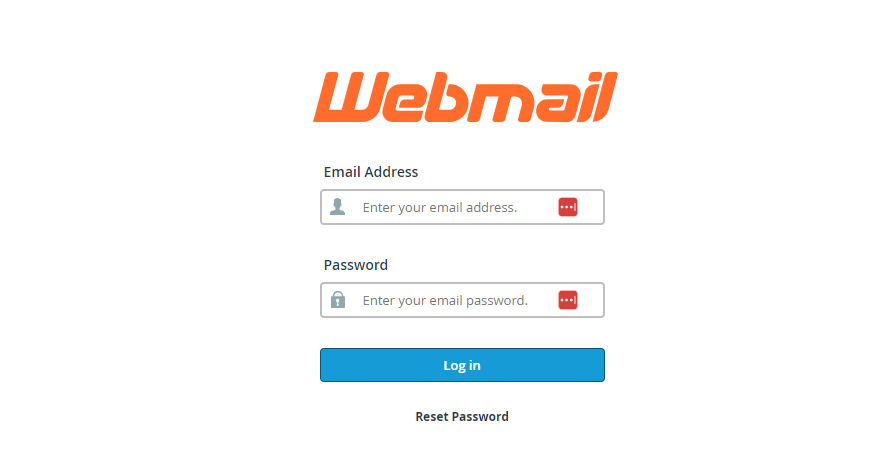
All Canadian web hosting providers should give you access to your email via webmail – an online interface – in addition to standard desktop and mobile email apps.
Here are some tips for using webmail effectively:
Find Webmail URL
Your hosting provider will give you a webmail URL you can visit in any browser to access email. It may look like: mail.yourdomain.ca.
For Truehost.ca users, just type, webmail.yourdomain.ca.
Log In
Visit the webmail URL and log in with the full email address and password for any of your accounts.
Review Layout
The layout may vary, but you’ll see your email folders or labels on the left with message list and reading panes.
Open and Manage Email
You can use webmail to read, send, delete, organize messages exactly as you would in a desktop app.
Configure Settings
Access webmail account settings to set signatures, notification alerts, inbox rules, and more.
Sync Across Devices
Actions taken on webmail like deleting emails will sync across other devices accessing the same account.
Webmail provides convenient anywhere access and full account management functions through a browser without needing any email apps installed.
Key Takeaways
- Having custom email via your Canadian web hosting provider gives you professional branded addresses.
- Start by registering your own domain name and pointing it to your web host’s servers.
- Choose a host that provides generous email features like multiple accounts, webmail access, and forwarding options.
- Use their control panel to easily set up email accounts matched to your domain name.
- Email forwarding allows you to send new messages to an existing inbox for gradual transition.
- Webmail interfaces let you fully access and manage email through a web browser.
With a few simple steps, you can enable professional custom email to represent your website or business online.
Read also:
- How To Pick The Best Email Hosting in Canada
- How To Get Personalized Email Address in Canada
- Best Email Provider for Business in Canada
- #4 Safest Email Provider in Canada You Should Know